7 Creative Ways to Upcycle Your Window Shutters
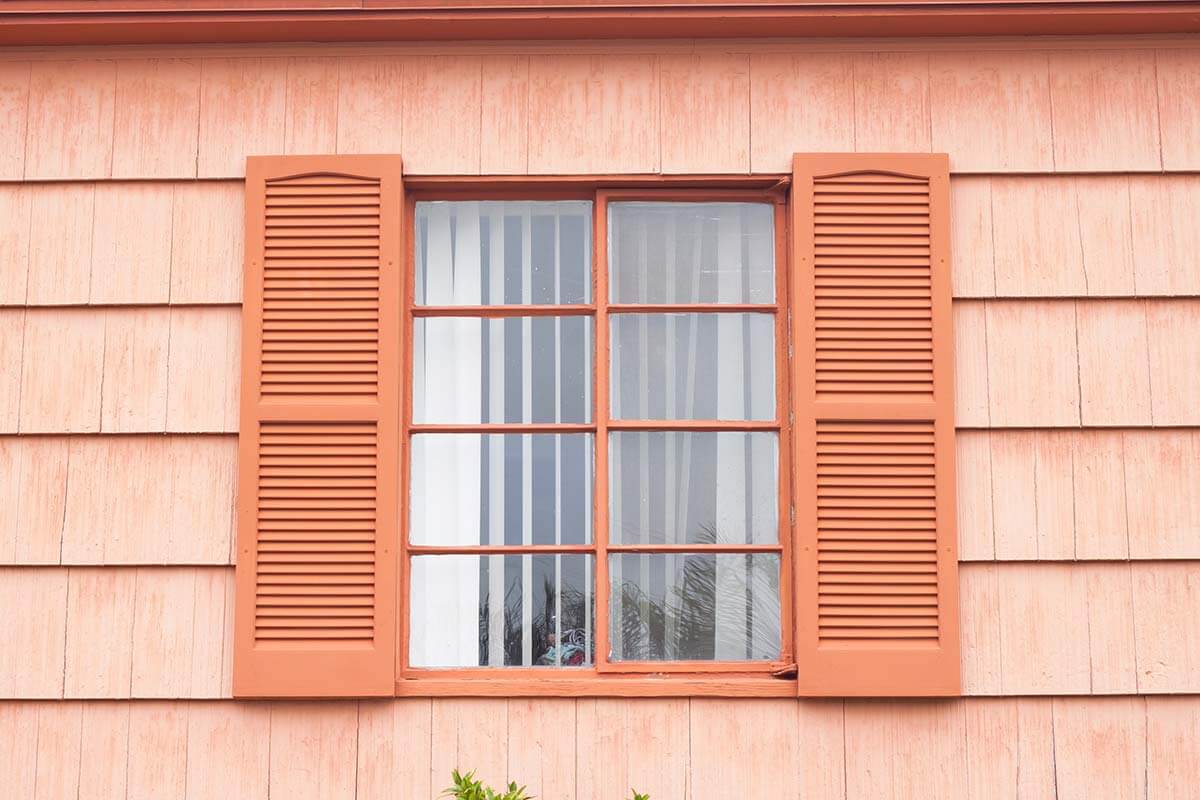
Window shutters add interest to your home and break up the expanse of colour on your siding. They give your home a finished look, and depending on the type of shutter, they can add extra protection to your home. However, if your shutters are cracked, with the paint peeling and a few slats missing, then it may be time for an upgrade. Swapping out shutters can improve the value of your home and breathe new life into its appearance.
Before you think of just tossing those old shutters into the landfill, check out these neat DIY ideas to breathe some new life into your shutters.
1. Memo and Mail Board
If you feel overwhelmed with your mail, or you have Christmas cards or birthday invitations you want to display, you can give your old shutters new life by turning them into a memo and mail board. Add a fresh coat of paint as needed, then use clothes pins to attach cards to the slats. Or, turn the shutters sideways, and simply slide the cards halfway into the slats. With a few screw in hooks, you can add a nifty keyholder.
2. Magazine Holder
Have too many subscriptions to Explore magazine? Not quite sure what to do with your partner's collection of Ontario Out of Doors? Mount your old shutters on a wall, or prop it up in the corner. Then, drape each magazine over the shutter slats. Your magazines stay organized and your shutters gain new purpose.
3. Shelves
Turning your old shutters into new shelves is one of the simplest uses for them. Sand the shutters, paint them to match the colour of your home, and then mount them to the wall with sturdy brackets. It's a unique way to display your favourite books, houseplants, or decorative items.
4. Room Dividers
You'll want at least three shutters for this project, as well as hinges and a screwdriver. Attach hinges along the sides of the shutters, and then attach the shutters together. The multiple shutters will help them stand upright, and the slats will provide nice coverage whether you want to separate a room or change your clothes behind them.
5. Coat Rack
For a unique look to your entry way, screw in pegs and knobs along the side of the shutter. Mount the shutter sideways on the wall, and you'll have an instant coat rack. Shutters with coats can be heavy, though, so be sure to screw the shutters into wall studs rather than just the drywall. Attaching a small shelf above, or another shutter with brackets will give you additional storage for hats, gloves, purses, etc.
6. Head Board
Lay rows of shutters together to match the width of your bed. Keep them together using small brackets, or keep them together by screwing them into a strip of pine board. Mount them securely to the wall, then slide your bed next to your new headboard.
7. Side Table
Stand four shutters up to form a square; this will make the base of your table. Measure the square, and purchase eight art stretchers of the same (or slightly larger) size. Place the stretchers to form two square shapes: one for the base, and one for the top of the table.
Drill screws through the frame of the table to hold them together. Have a glass store cut a ¼ inch piece of glass for the top of your new table – then slide the glass into the stretcher's bevelled edge. And voila! A unique side table for your bedroom.
- How to Choose the Right Energy-Efficient Windows for Your Home
- Using a new Front Door to Boost Curb Appeal
- How Glass Windows Are Made
- Spruce up Windows with Stylish Window Coverings
- How do I know when I Need New Windows
- Why You Should Upgrade to Vinyl Windows
- What does the colour of your front door say about you?
- 7 Creative Ways to Upcycle Your Window Shutters
- The Benefits of Energy Efficient Windows and Doors
- How to clean Windows and Doors for a Streak Free Finish
- Humidity and Window Condensation in Your Home
- Do I need a building permit to install my new windows?
- 2018 Front Door Buyer's Guide
- Northern Comfort Windows & Doors Receives HomeStars' Best of 2018 Award
- Northern Comfort first to market with next generation of Window Technology
- How to Avoid the 10 Window Buying Pitfalls
- New Doors and Windows Installation: The Benefit, Style and Features of French Doors
- Windows vs. Birds: Consider a Window Replacement with Northern Comfort
- Northern Comfort Windows & Doors Servicing Ontario Discusses Front Door Replacements
- 5 Reasons to Adore Patio Doors
- Why Updating Your Garage Door Should be Your Next Home Renovation
- Trust the Professionals: Why Window Installation Matters
- Why Cardinal Glass is Right for Your Window Replacement
- Trust Northern Comfort When It’s Time to Renovate Your Windows and Doors
- Do I Need to Replace My Wood Cottage Windows?
- Invest in Your Windows for Long-Term Savings
- 5 Ways Windows Can Lower your Air Conditioning Costs
- Aurora Homeowners: The Ideal Season to Change Your Windows
Get a Free Quote
Schedule your free in-home, no-obligation quote today.
We will not share your email. No spam.